PrusaSlicer: turn off binary G-code (.bgcode)
When a printer profile has Supports binary G-code ticked, PrusaSlicer exports binary G-code, a .bgcode file. Extrudio reads plain G-code, so turn it off, and export a .gcode.
Checked in PrusaSlicer 2.9.6 on October 8, 2026.

Turn off binary G-code
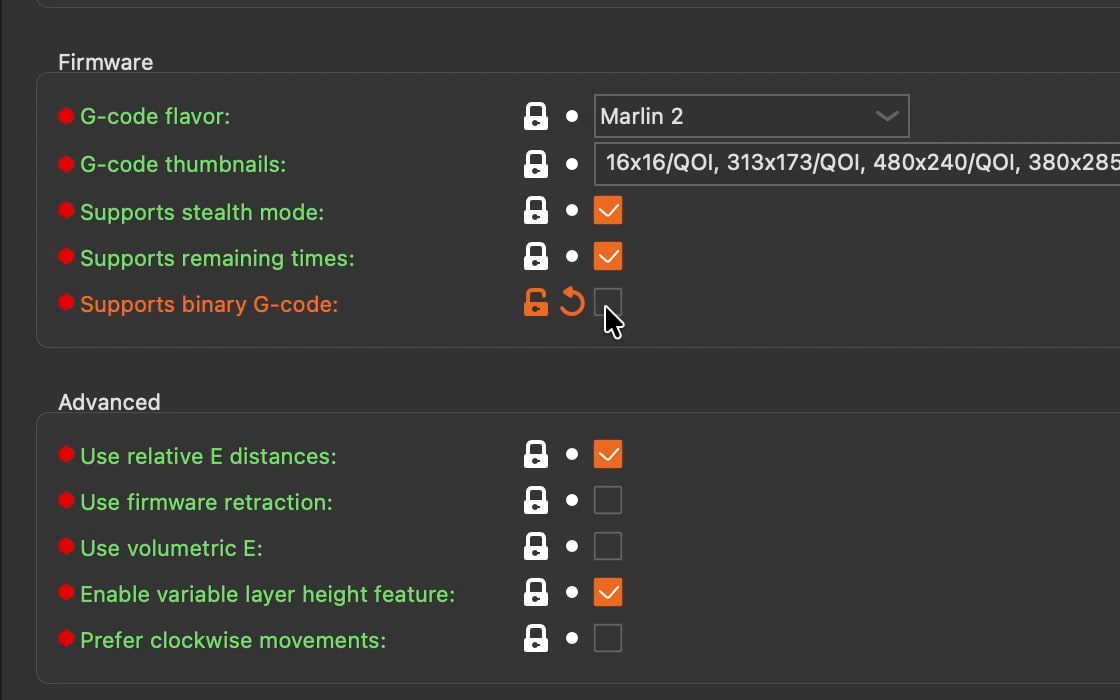
In Printers → General → Firmware (Printer Settings in older versions), untick Supports binary G-code. If you don’t see it, switch to Expert mode.
Slice and export
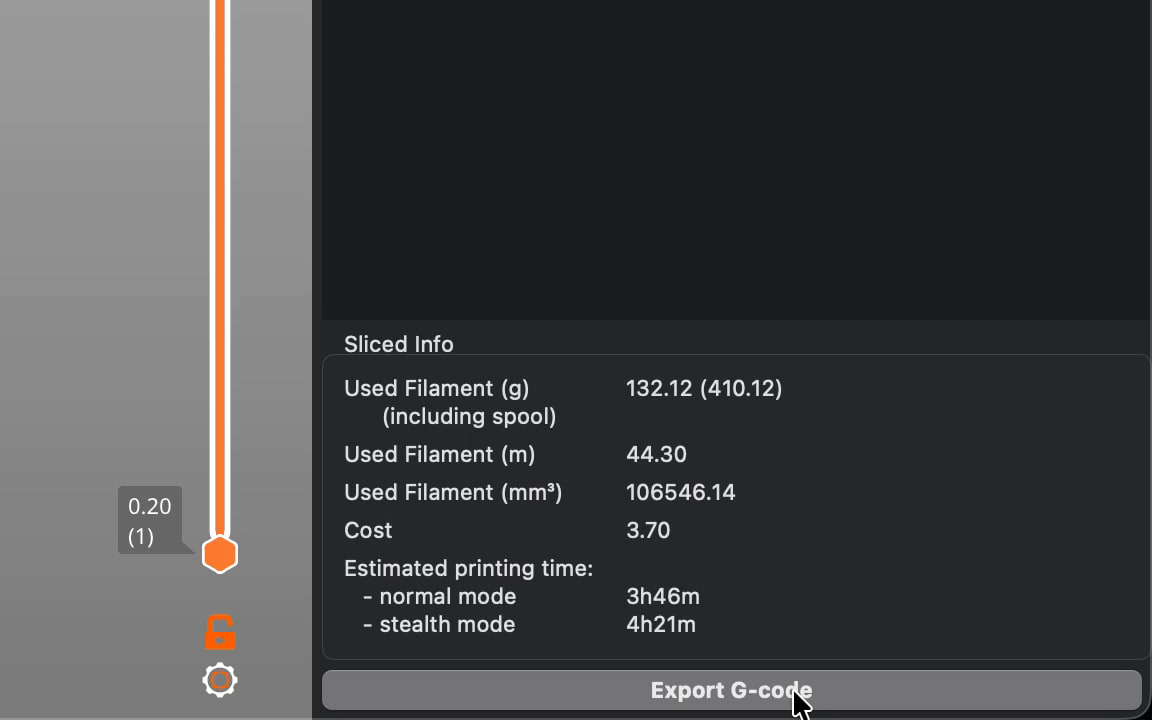
Slice, then choose Export G-code. The file should end in .gcode, not .bgcode.
Upload it to Extrudio
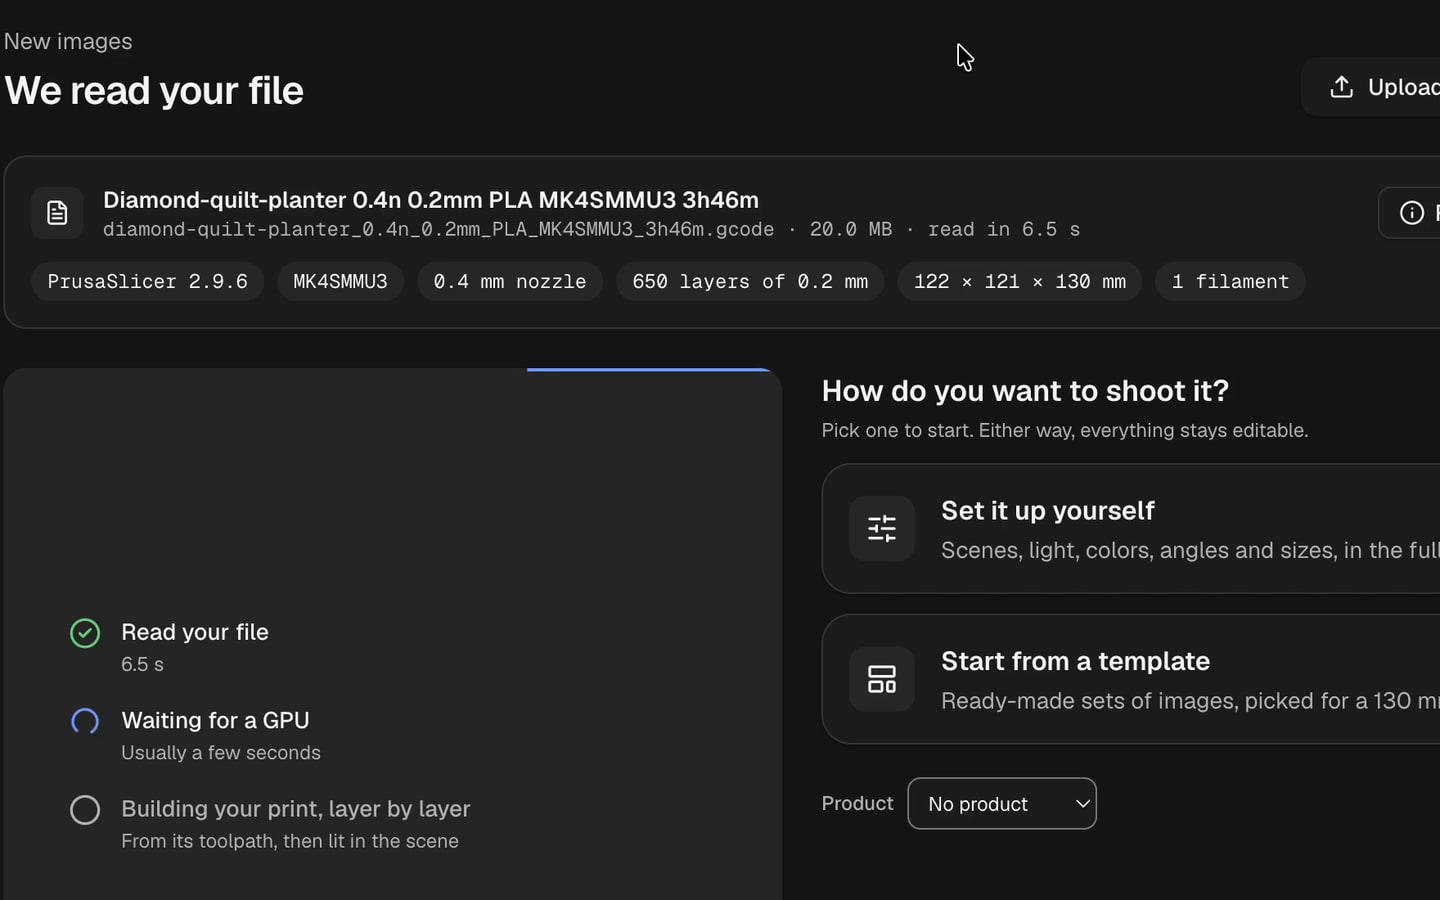
Sign in, and drop the .gcode on Home. The file check shows what we read from it: the slicer, the printer, the nozzle, the layers, the size and the filaments.
Pick your pictures
Start from a template, or choose the colors, the scene and the angles yourself.


If you upload a .bgcode
Extrudio says This is binary G-code (.bgcode), with the same fix: untick Supports binary G-code, export again, and upload the .gcode.
What carries over from your slicer
- The layer height, the line widths, and every wall, infill and seam, as sliced.
- Support, brims and prime towers are left out of the render.
- Vase mode is supported.
Try it on your own prints.
Upload the file you exported, and see your print in photoreal images, with its real layer lines.
New accounts start with 20 free credits.